🐶 Treat Me Jar
🐾 Treat time, but make it stylish! Give your pet’s snacks the upgrade they deserve with this adorable DIY “Treat Me” Jar — made from your empty Myco Pet jar. 🦴✨
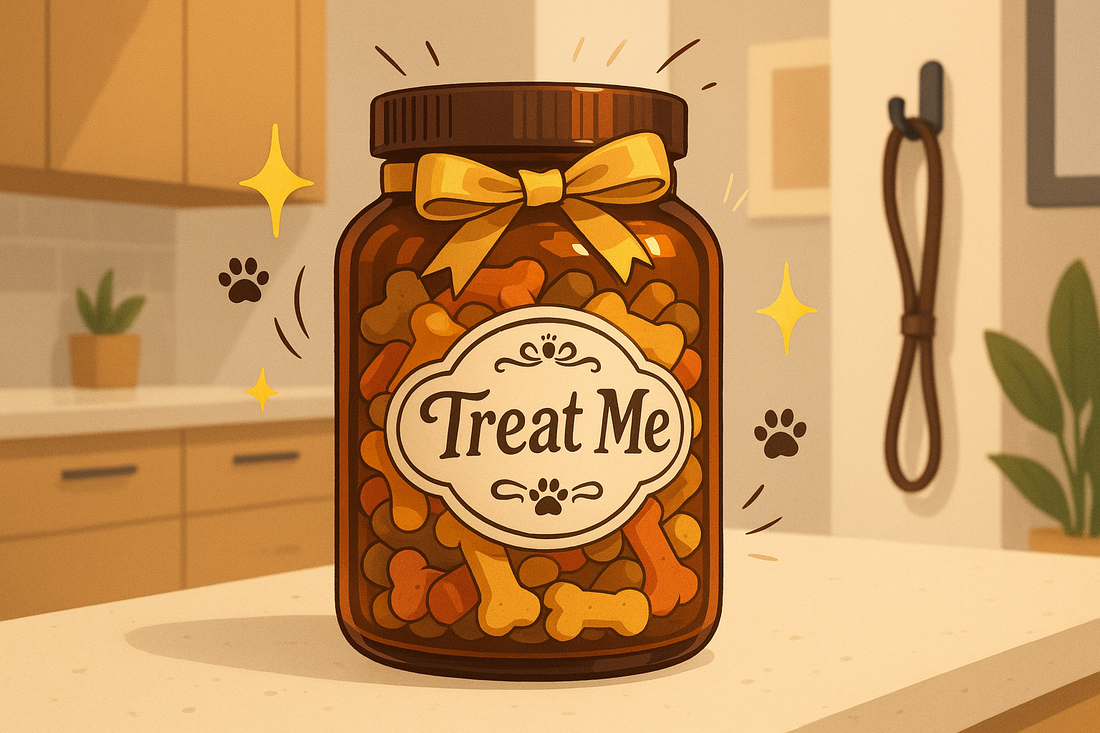
It’s the perfect blend of eco-friendly and chic: label it with your pup’s name, add a ribbon or decal, and fill it with their favorite goodies. Whether it’s perched on your kitchen counter or by the leash station, this jar is guaranteed to turn treat time into a pawsitively picture-perfect moment. 🍪💛
🦴 DIY “Treat Me” Jar – Pet Treat Storage Idea 🐶✨
Store your fur baby’s treats like a fancy pet butler.
Perfect for organizing snacks with style, this upcycled Myco Pet jar is both functional and adorable!
🛠️ Materials Needed:
-
✅ 1 clean Myco Pet glass jar
-
✅ 1 sheet of chalkboard label or printable sticker label
-
✅ Chalk marker or permanent marker
-
✅ (Optional) Pet-safe spray paint or acrylic paint
-
✅ (Optional) Ribbon, twine, or decorative decals
-
✅ Your dog’s favorite treats (store-bought or homemade)
🐾 Steps to Make Your Treat Jar:
-
Clean the Jar
Remove any leftover labels and wash the jar with warm, soapy water.
Let it dry completely before decorating. -
Decorate the Outside (Optional)
-
Spray paint the lid for a fresh, clean finish
-
Add twine, ribbon, or fun decals for extra flair
-
Stick on a chalkboard label or printable name tag
-
-
Label It
Use a chalk marker or paint pen to write “Treat Me,” “Good Boy Snacks,” or your pet’s name. -
Fill It Up
Add your pup’s favorite dry treats!
Store in a cool, dry spot to keep them fresh. -
Display It Like a Pro
Place your DIY pet treat jar on a countertop, pet shelf, or near the leash station.
Cute, convenient, and totally Instagram-worthy!
